Creating Useful Wood Projects, Both Large and Small
Hammond Organ Cabinet Construction
Written by on January 12, 2017
THE TOP
I started the top by first cutting a couple of spacers that go underneath the rear top piece. It is there to keep the front and rear top pieces in line since the front top piece rests on a felt tip to avoid scratching when the lid is lowered. Here’s a picture of one of the pieces being glued onto the rear side:
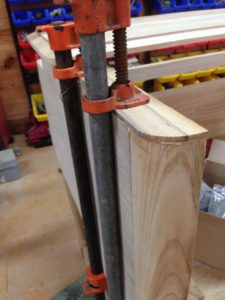
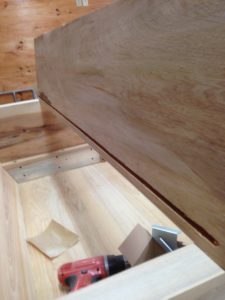
Next, I began making the two main top pieces. First I made the rear top piece. It has rounded corners. I first cut the thing to size, and then rounded the corners. Next, I routed the edge using an angled router bit on the router table. And finally, I cut a groove onto the rear bottom which accepts the back. Here’s a photo showing the groove:
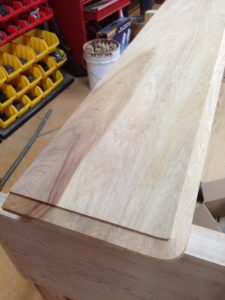
And here’s a picture showing the piece right side up, but not attached:
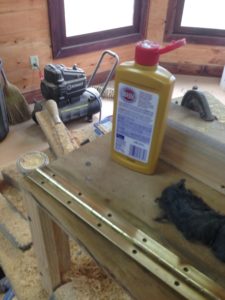
The final cut on the piece is the groove to accept the hinge. Before I made the cut, I went ahead and took the original hinge off the old parted out CV. I will re-use it to join the front and rear top pieces on my new cabinet. It is the same size on the B3 as was used on the CV. I still had to buy the second hinge which is a bit smaller on the fall board used on the B3 cabinet since the CV did not use one. Here’s a picture of me cleaning the old CV hinge using Brasso and 0000 steel wool:
And here’s a picture of the finished product:
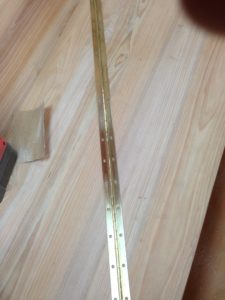
Not bad for a 73 year old hinge!
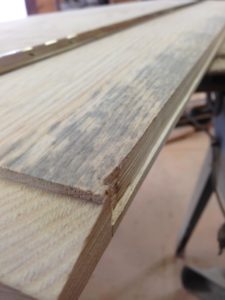
The recess for the hinges is about 1/16″ deep. I first made the cuts using my table saw, being careful not to let the blade cut past the mark for the hinge ends. I later found it easier to use a straight cut router bit for the recess, and then chiseling out the ends for a good fit:
.
It was now time to glue on the top back piece. I’ve seen pictures of the Hammond B3 cabinet taken apart on some internet posts, and saw dowels used for the joining. Hammond may have used a sort of spline joint, but I’ve not seen one, and it would be much harder to do for me. So I decided to stay with the dowel joint. Here is a picture of the holes I carefully placed and drilled into the cabinet and the top for the joint:
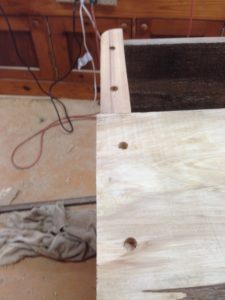
I then glued the dowels into the cabinet:
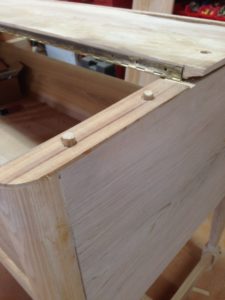
Then I clamped the piece onto the case and let it dry overnight:
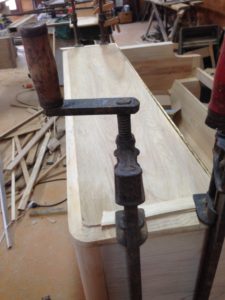
Next I cut out pieces for the fall-board (the movable portion of the top which is hinged to the now permanent top back piece.) The fall-board is basically two parts, which are joined by a piano hinge, and then the fall-board assembly connects to the body with a second piano hinge. Both hinges are different sizes. I was able to use one hinge that I showed before, but had to order a second hinge for my cabinet which the donor CV organ parts did not contain.
Here is a picture of the lower fall-board. I used biscuit joints on all the parts. In the picture, I’ve placed with glue the biscuits into the board. You can see the board about to be joined with the indentions to accept them on the left:
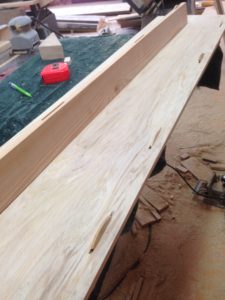
Here is a shot of them glued together:
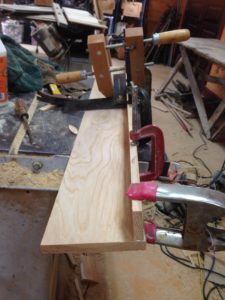
Next I glued on the curved trim piece. It is a complicated little piece to make, since it is routed on two sides along with a recess to accept the hinge:
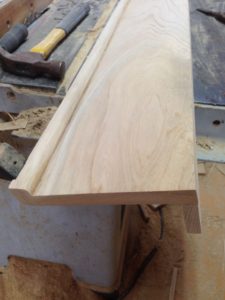
I sat it into place to check for fit. It looks ok!
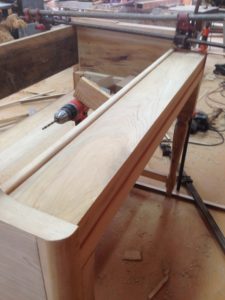
Next I glued the second fall-board assembly which rests on the top next to the permanent rear top piece. I used biscuits on it also:
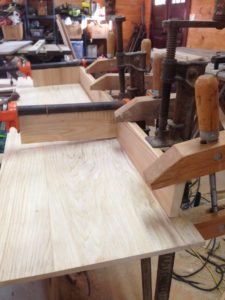
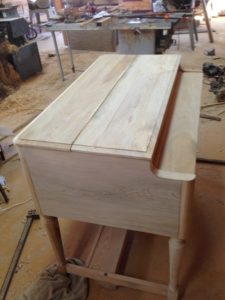
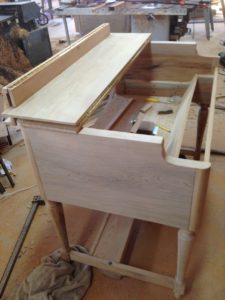
Here’s a couple of pictures showing the assembly in place. I only used a few screws in the hinges since I’m going to remove them to finish the cabinet.
0 Responses to Hammond Organ Cabinet Construction
Comments are closed.