Creating Useful Wood Projects, Both Large and Small
Hammond Organ Cabinet Construction
Written by on January 12, 2017
HAMMOND B3 ORGAN LEG CONSTRUCTION
Here’s of picture of my just completed shop:
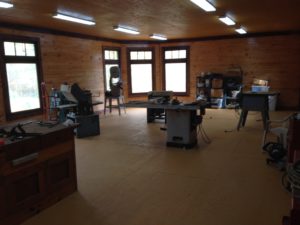
I’ll try to give a tour of the shop in a future post. (Hang in there with me…I’m new to this blog thingie, but I’m pretty hyped about it all as something new to learn and do!)
The first thing to build would be the legs and center bottom stretcher. I began by doing a very careful measured reference drawing of the original leg. It’s best to first mark the overall length of the leg, and then mark each individual change in the shape. Calipers are used to check the leg diameter for each change. It’s also good to mark points along the way for reference if there are long sections of no changes, as for instance, the main body of the leg. I think I only used one extra diameter point in the middle.
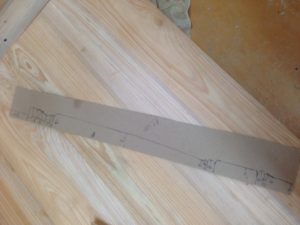
Here’s a picture of the template I made to turn the legs. It worked really well:
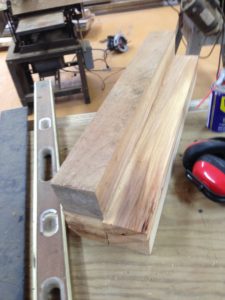
I then cut some 4″ thick stock down to a manageable size for the legs:
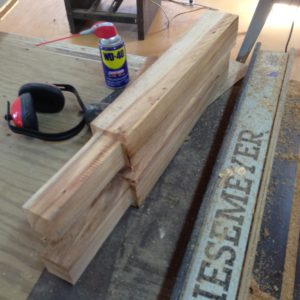
Before starting the turning, I had to square up one end of the turning to allow for a small square area near the base of the leg.
Now it was time to turn the 4 legs. My old wood lathe has sadly sat in my garage waiting for my shop for years…maybe 15 or so. I cleaned it up a little, and pulled the switch. It still worked! I was happy, happy, happy. I then mounted the stock and began by roughing out the areas which are rounded: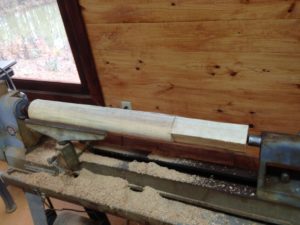
The template is placed next to the roughed out turning, and pencil marks were made to indicate where shapes intersected. That’s why the template is cut in half…so that it can lay flat against the turning for marking. As the spindle turns, and the template is placed near using the flat center side, marks are made using the tool rest along the shaft. Then calipers are used to determine the thicknesses as you go along by first setting the correct depth with the parting tool. As I went along, I ended up using the majority of my lathe chisels, including the large and small gouge, the large and small skews, and the the flat rounding tool. After about an hour and a half, I had a leg: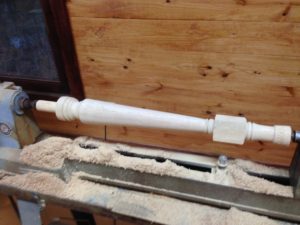
I was pretty pumped for a first attempt in years, and went ahead and cut off the waste at the bottom. I took it to the original for comparison, and I’m not kidding…it looked about perfect. I have no idea how that happened. I went ahead the next day and finished the other 3 legs.
0 Responses to Hammond Organ Cabinet Construction
Comments are closed.