Creating Useful Wood Projects, Both Large and Small
Hammond Organ Cabinet Construction
Written by on January 12, 2017
THE MUSIC HOLDER
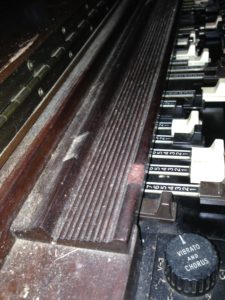
The next challenge for me was to reproduce the music holder. Taking a quick glance at this thing made me a little sick. There were all kinds of angles and grooves in this little baby. Here’s a picture of the original holder. The music stand that folds down has been removed:

Notice the areas for the hinge and the felt which protects the music stand when its down. I’m sorry its so dirty. There has been a lot happening in the area where I keep it. Anyway, the CV organ that I have is the same design as the later B3. The grooved music holder piece is glued and nailed to a backer piece that runs the length of the manuals side to side. There are a couple of angled blocks that are added on each end which are nailed and glued into the long piece. So the entire music stand assembly is five pieces. (At least that is what it is on the old CV I took apart.)
I’m sorry that I didn’t take a lot of pictures as I whittled this piece into shape, so I’ll try to describe what I did to make it. I, in fact, made two so I would have one for the next case.
The first thing I did was plane a board to 1″ thickness. You can’t tell from the photo, but the end blocks recess under the grooved music stand piece. So the total thickness was 1″. Next, I cut the piece to width, with one edge (the front) being at a slight angle. I used the original CV piece to get the correct angle on my table saw. So far, so good.
The next step was to cut the v-groove on the rear of the piece on the table saw. Next I cut a series of depth cuts to hollow out the piece facing down to get close to where the grooves were. Now it was time to go to the router table. I found a very small bit with a point on it. I took my chainsaw file and filed both sides to a radius, and placed it on the original holder until I was happy that it reproduced the groove well. I then put 1/8″ reference points on the router table guide fence so that as I took a cut, I could move the fence back 1/8″ and make another. This worked pretty well, and so I did the same on the second.
Let me make a point here. The original, I’m sure, would have been made with molding knives on an overhead planer molder. I didn’t want to spend the money or the time to have a knife made, and that’s the reason I did it the hard way.
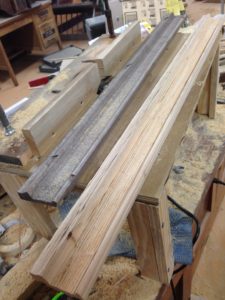
Next, I used some rounding over router bits to finish the shape. It turned out almost as good as the original. To be honest, there is a minute difference, but the only person that will know that is probably me (and YOU!) Here’s a picture of the new one laying next to the original from the CV:

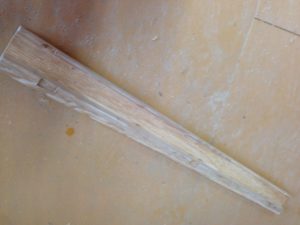
The next step was to cut it to length, and chisel out for the music stand and felts. I did that by hand, and here’s the final product:

0 Responses to Hammond Organ Cabinet Construction
Comments are closed.