Creating Useful Wood Projects, Both Large and Small
Lumber Storage Shed
Written by on January 13, 2017
FOUNDATION
For a small hobbyist/woodworker like myself, this was a perfect size building to house the leftovers. I seem to use much of it at about the same pace that it is refilled. Let me show you how I made this simple wood storage shed.
I began by deciding on a location I could easily access with my trailer or vehicle, and not be in the way of anything I might want to do in the future. I needed to be able to back my trailer right up to the doors for easy loading or unloading. I had to take down a few trees that I thought might be a little close to my chosen site, and my brother showed up to give me a hand:
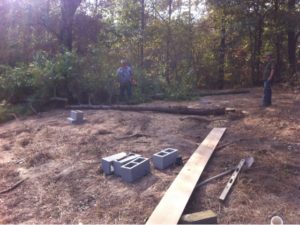
I leveled the area by using my box blade on my 1943 Ford 9n tractor. That thing is like a mini bulldozer. Henry knew how to build something that would last! The frost line in north Louisiana is not but about 4″, so footings around here need to be at least 6″ into undisturbed soil. This was a shed, and so there was no need for me to do any overkill on the footings. I simply dug out 9 holes, spaced to accept concrete blocks at the corners and centers. I placed 18″x18″x4″ thick concrete pads I bought at the lumber yard and leveled them all up to the same top height. That took a little doing, since I still had a site that sloped down from the back about a foot. I suppose that’s good so that it won’t hold water under the shed. I then placed the concrete blocks on top, and fabricated a termite shield to fit over the top. The bent sides prevent termites from building their tunnels up the block sides and into the structure (at least that’s the theory, and so far so good!) Here’s a picture of one of the corners.
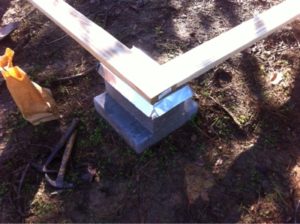
Next, I laid a treated 2″x6″ on top of the blocks cut to the exact dimensions. This helped in two ways. First, it of course became the bottom plate for the floor joists to rest upon and secondly, gave the center runs something to rest on while I nailed them all into place. Here’s a picture of the plate simply resting on the leveled blocks:
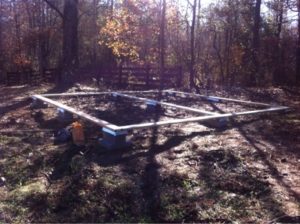
Next, I began to place on the 2″x10″ joists at 16″ on center with help from one of my buddys:
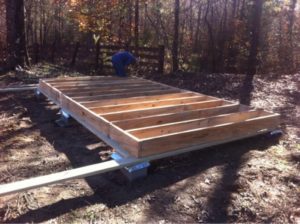
And finally completed the floor joists:
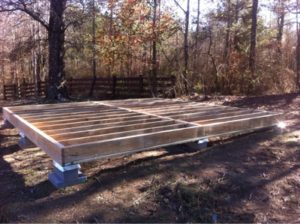
There is a double 2″x10″ beam across the center, as well as a double beam around the perimeter. By lapping the beams, I was able to build the whole system using 8′ long material. I think I did have a few boards a few inches longer for the 16′-8″ lengths, so they must have been at least 8′-4″ long. I then nailed down to the bottom plate everywhere I could. It turned out nice.
One thing I need to mention that is one of the more important features of the shed. The entire thing, floors, roof, and walls have a layer of 15# roofing felt applied. This created a moisture barrier that completely encircled the lumber stacks. That way, I don’t have to worry about the kiln dried lumber reabsorbing the humidity from the air. The temperature doesn’t matter, but the moisture content of the boards does.
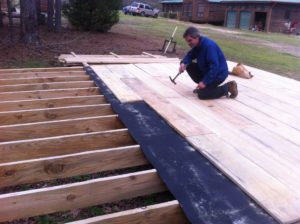
So, the next step was to roll the felt across the joists and apply the 1″ rough sawn stock for the floor. Here’s a picture to show what I mean. If you look closely, you can see the felt underlayment under the last board that was just installed. I don’t think we even had to staple the felt in place. Oh, and yes, we hand nailed the thing together!
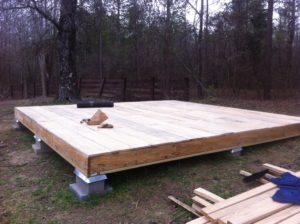
And here’s a shot of the completed floor. We’re ready for some walls!
0 Responses to Lumber Storage Shed
Comments are closed.