Creating Useful Wood Projects, Both Large and Small
Building My Solar Dry Kiln
Written by on January 14, 2017
FRAMING
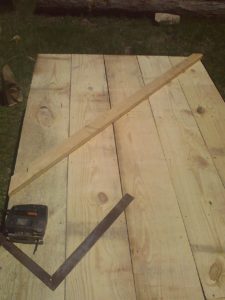
I began building the walls first in the rear. To determine the height I needed for the front and back, I drew a 45 degree angle on the floor and popped a chalk line. This gave me a full sized template I could use. I paced a 2″x4″ over the top of the line running wild over the front and back, and drew the front and rear angle cuts. This determined the front wall height perfectly for me. The height of the rear wall could vary up or down a little, but I liked the height I chose (which I don’t remember exactly…maybe 42 or 48″.) The 45 degree angle to the sun is simply a good one for my area. It could change further north to adjust for the sun rays. I took a photo while I was doing the layout:
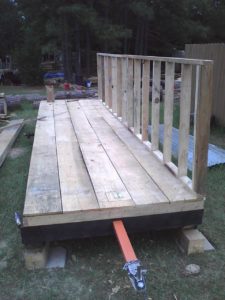
Here’s a picture of the rear wall in place:
I then stood up the 2 end walls with the same height. The front beam over the doors was made using an engineered design I found on the internet. The site has since disappeared, but after a number of years, it has not sagged. Here’s a couple of pictures of the beam:
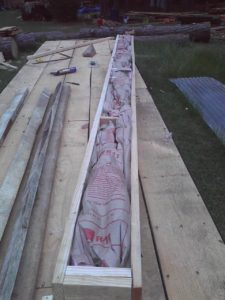
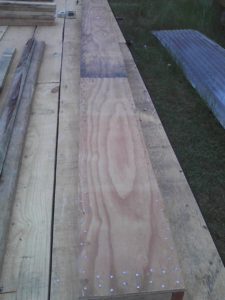
It’s built out of 2″x4″s. The top and bottom are full length, and are connected with blocks at a SPECIFIC spacing…like I said, I don’t remember from the original design the exact spacing. I filled it with batt insulation and then applied some leftover plywood I had. The nailing pattern on each side was intense…so many nails per inches. You can see the large number of nails in the thing:
 :
:
After cutting the front corners to the correct height (that was determined by our rafter layout sketch on the floor) I man-handled the beam into place by myself. That was a mistake! Get help to do this! It was a harrowing experience, but I persevered. Here’s a picture of the walls and beam in place:
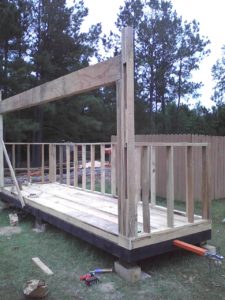
At this point, I plumbed the walls, and braced them. Then I sat a rafter into place. It fit great! I guess the goats liked it too.
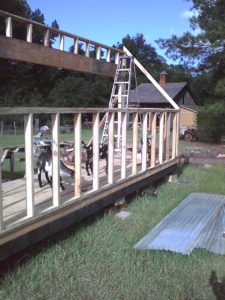
Here’s another shot with a few more rafters in place: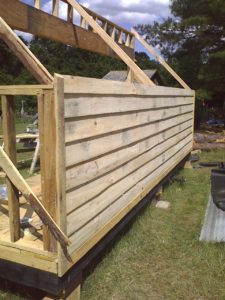
After all the rafters were set, I filled in the upper ends with 2″x4″s in line with the ones on the end walls below. You can see them in this photo:
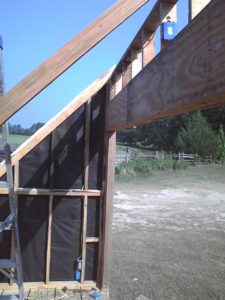
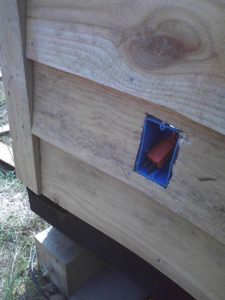
I believe next I added the electrical. I placed an outlet near the bottom for the dehumidifier, and one at the top center over the beam for the 2 fans to plug into. I then stacked another outlet box facing out to have a place to plug in the kiln into using an outdoor extension cord. The floor outlet contained a switch which controlled the top outlet for the fans in order for me to turn them on and off. You can see them in the photo above. And here’s a picture of the exterior outlet box I use to hold the plug for the kiln:
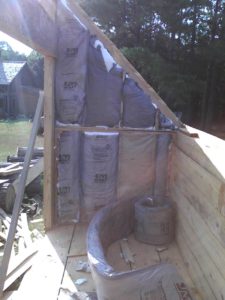
Next I added the exterior 8″ lap siding. First a layer of 15″ felt was applied over the outside walls, and then the siding. Then I insulated the walls. Here’s a picture showing some of that:
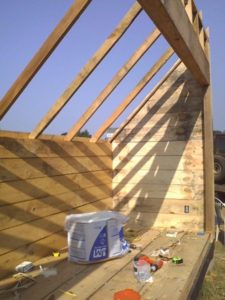
I then added 1/2″x8″ boards onto the walls to hold the insulation in place:
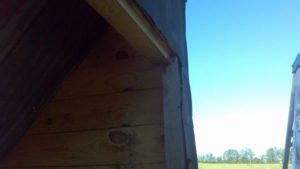
Here’s a photo of the front door area:
0 Responses to Building My Solar Dry Kiln
Comments are closed.