Creating Useful Wood Projects, Both Large and Small
Building My Solar Dry Kiln
Written by on January 14, 2017
ROOF
Next I added a few rows of 2″x4″s over the rafters to have something to screw the plastic panels into. I found them at Home Depot I think. They are inexpensive, and serve the purpose well. If you have a hail storm, be prepared to replace them! That’s why I used the inexpensive panels. It happened to me. Replacing them took a couple of hours, and cost about $150.00. Here’s what I mean:
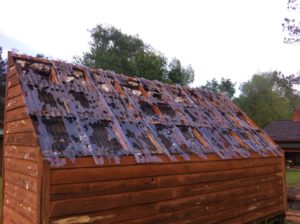
Hey…stuff happens!
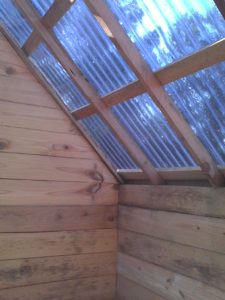
Bad memory. Oh well…continuing on. Here’s a picture from the inside looking up showing the 2″x4″s in place over the 2″x4″ rafters. The panels were screwed into them:
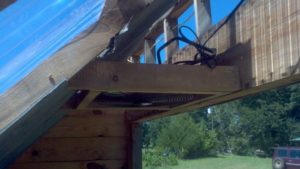
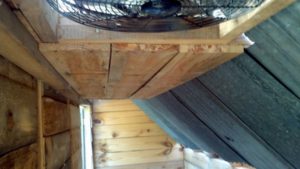
Next, I went and found a couple of fans with metal blades. The metal blades were important. Plastic blades will melt with the heat that is generated. Trust me, don’t use plastic blades. I ran some blocking attached to the front wall and across to the rafters sized to fit the fans I found. The fans simply rest in the area in order to allow them to be replaced when one dies. I’ve already done this once, and it will happen eventually. So they must be able to be removed. Here’s a picture of them in place:
One day I took a load of trash to the dump. It just happened that a fellow was throwing out some galvanized old metal. It was perfect for me to use on the next step of the build, and so I loaded it up. When I got back home, I laid it out on the ground, and caulked all the holes in it. Then I spray painted it black on one side:
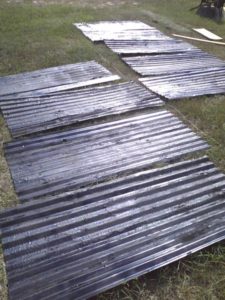
This was then screwed onto the bottom of the rafters with the black painted side facing up. I left about a 6″ gap at the top and the bottom. This allows the air to enter and exit from the plenum that was created inside the rafter cavities. I then added some ceiling boards between the fans and the ends to create a mini attic. This traps air and causes it to heat a little more. I added insulation to the attic area. Here’s a picture showing the added ceiling boards:
0 Responses to Building My Solar Dry Kiln
Comments are closed.