Creating Useful Wood Projects, Both Large and Small
Passive Solar Greenhouse Construction
Written by on February 21, 2020
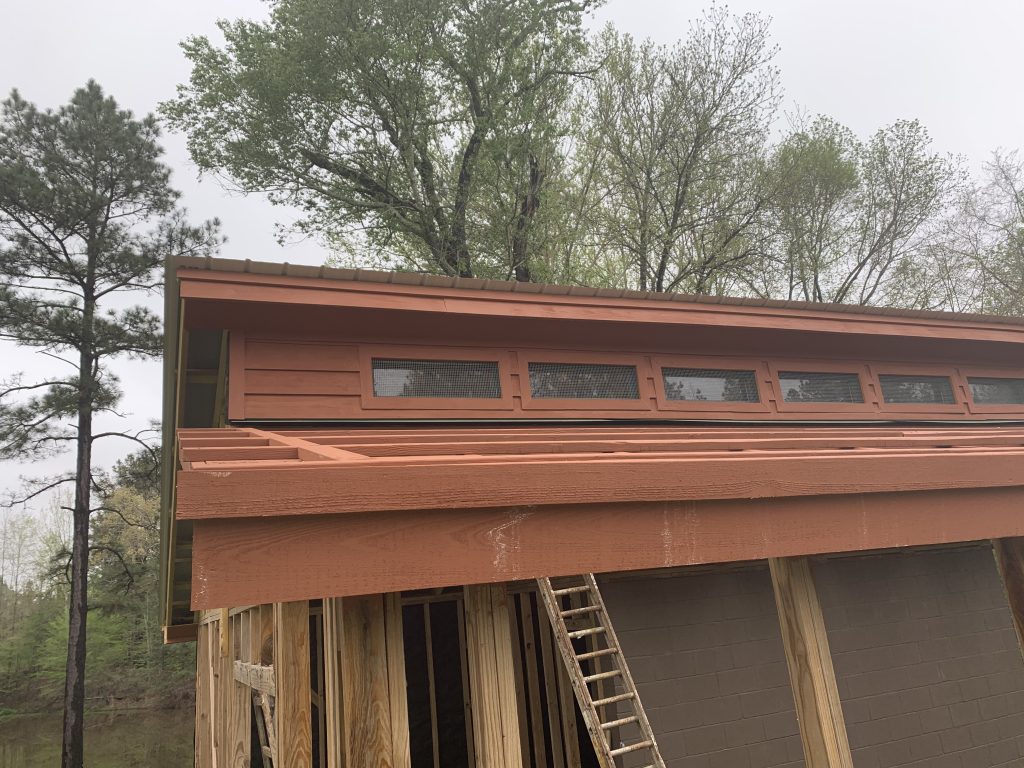
So…back to the siding. I began on the rear wall. Danny and I dragged the double door unit from my shop to the rear storage opening and nailed it into place while he was here that day. Later, I began to nail on the cornice boards. I had cut some 1/2″ thick x 12″ wide cypress to use underneath the overhang, and 1″x8″ fascia boards and 1″x4″ trim boards for the greenhouse. The 1″x4″ trim was installed next to the metal roof. Here is a closeup of the cornice:
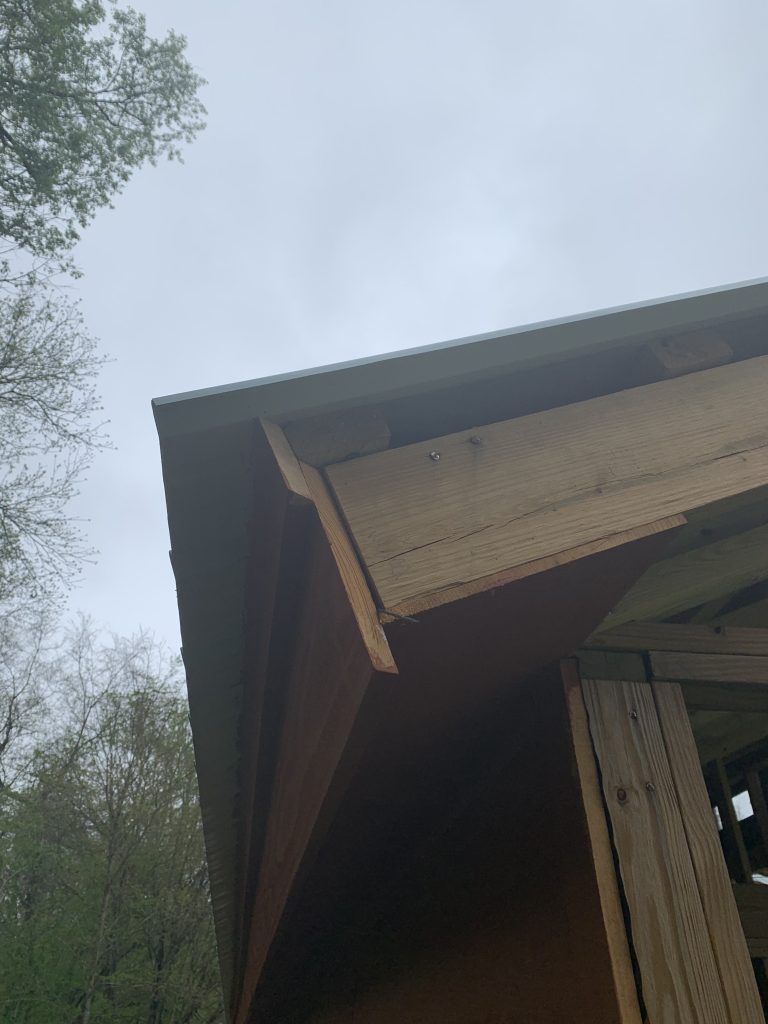
When I put on the 2″x4″ runners to screw the roofing to over the rafters, I let them extend about 3/4″ past the rafters. That is visible in the photo since the end overhang is not yet complete. This enabled me to install the fascia boards alone by shoving them up and holding them in position with one hand while nailing with the other. It was not fun, but it worked well!
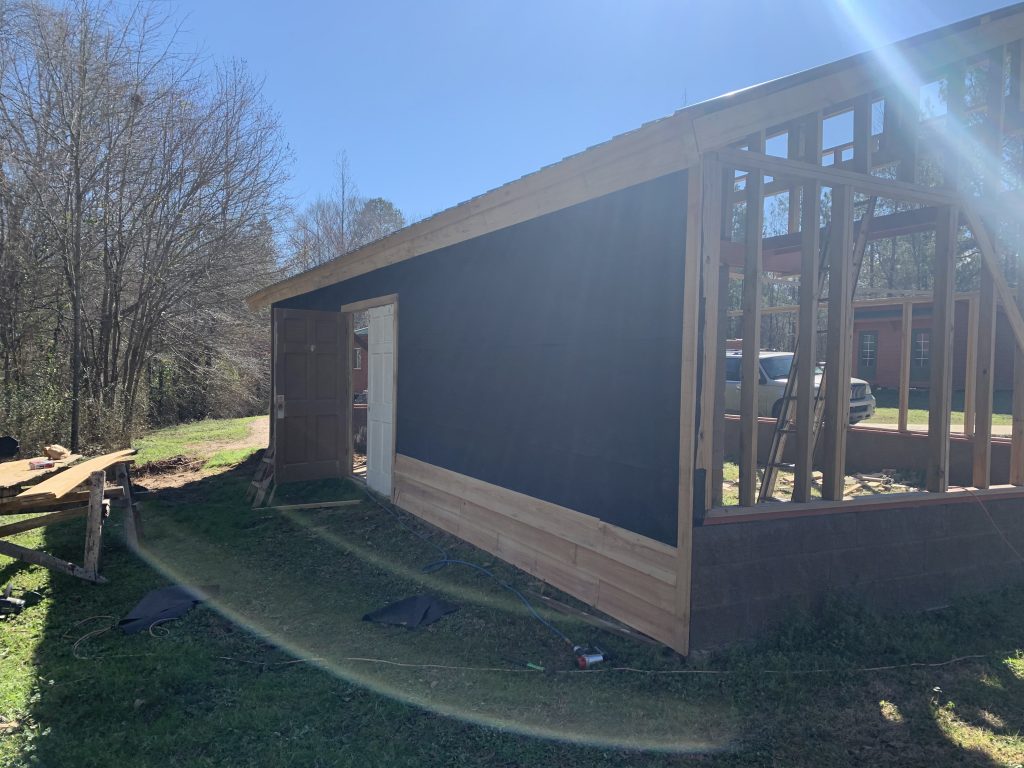
I allowed 6 1/2″ exposure to each new row of siding. This provided a lap of around 1 1/2″ for each row. I used a cheap harbor freight staple gun for the siding, and it actually worked great! Next, I applied a layer of 15# felt underlayment. Then I nailed on the end 1″x4″ corner boards. Here is a progress photo:
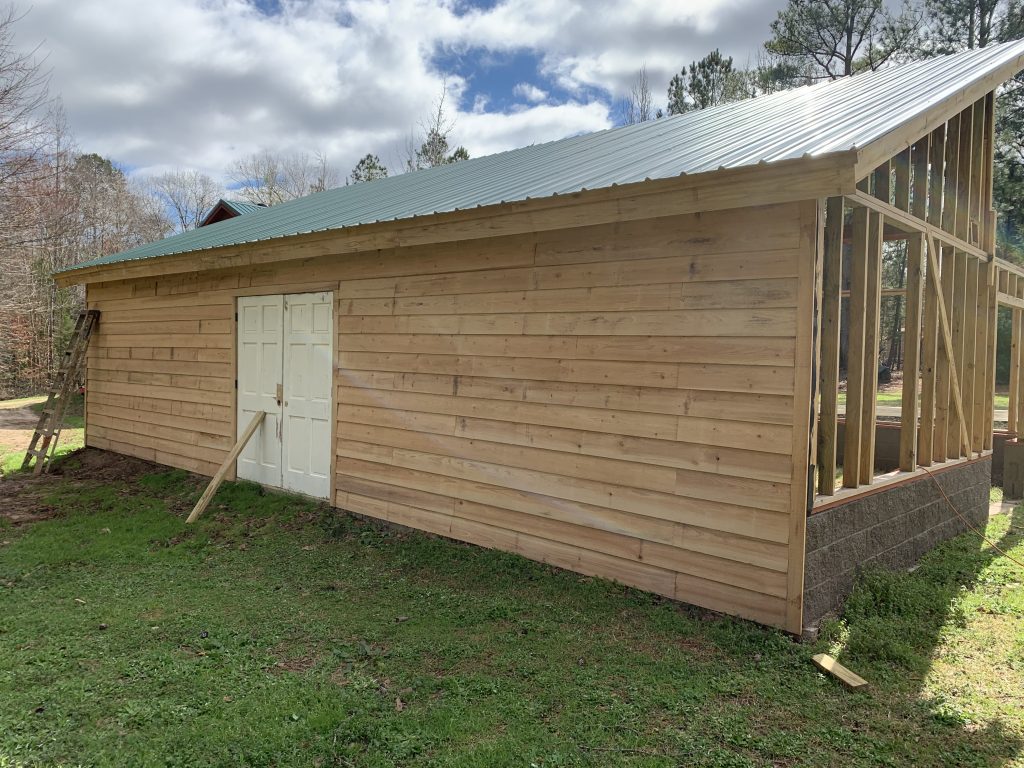
And here is a photo of the completed rear side:
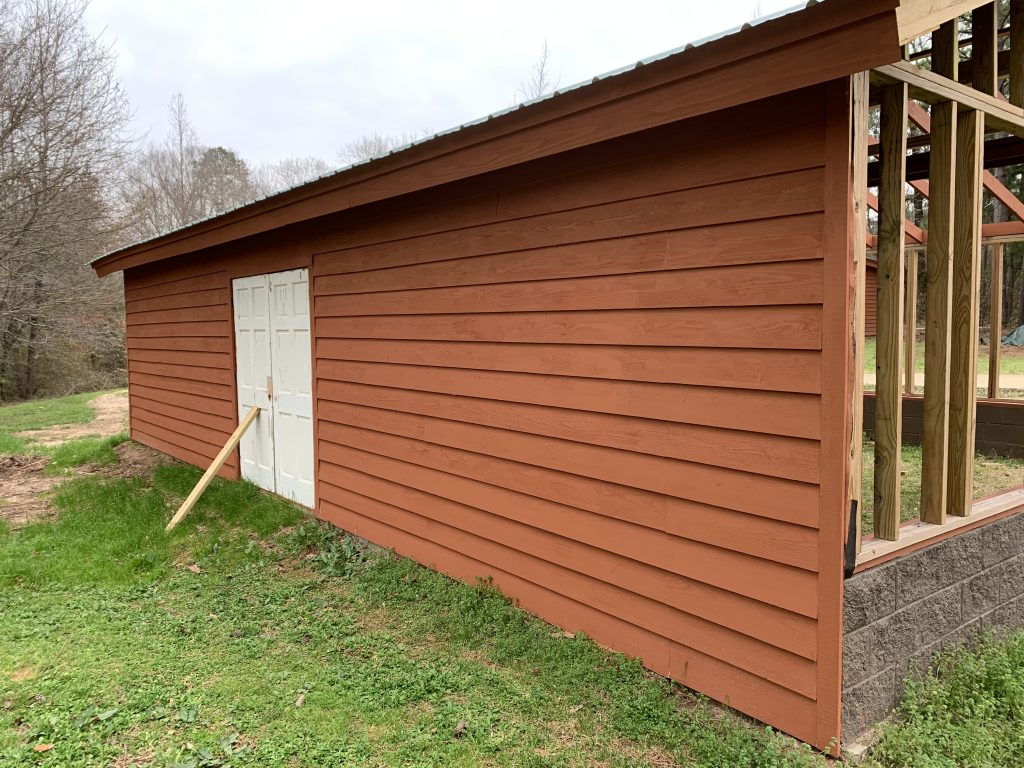
Next I caulked and painted the area:
I then moved to the front side and began work. I began installing the rafters, and then ran a row of blocking to seal off the upper areas where roofing meets the walls. Next I installed the 2″x4″s as before over the rafters. I pre-painted everything so I would NOT have to paint overhead on a ladder. There are no joists in the front to allow for maximum ceiling height for plants/small trees. This braced the front window wall well since the rear area is bolted to the block wall which anchors everything.
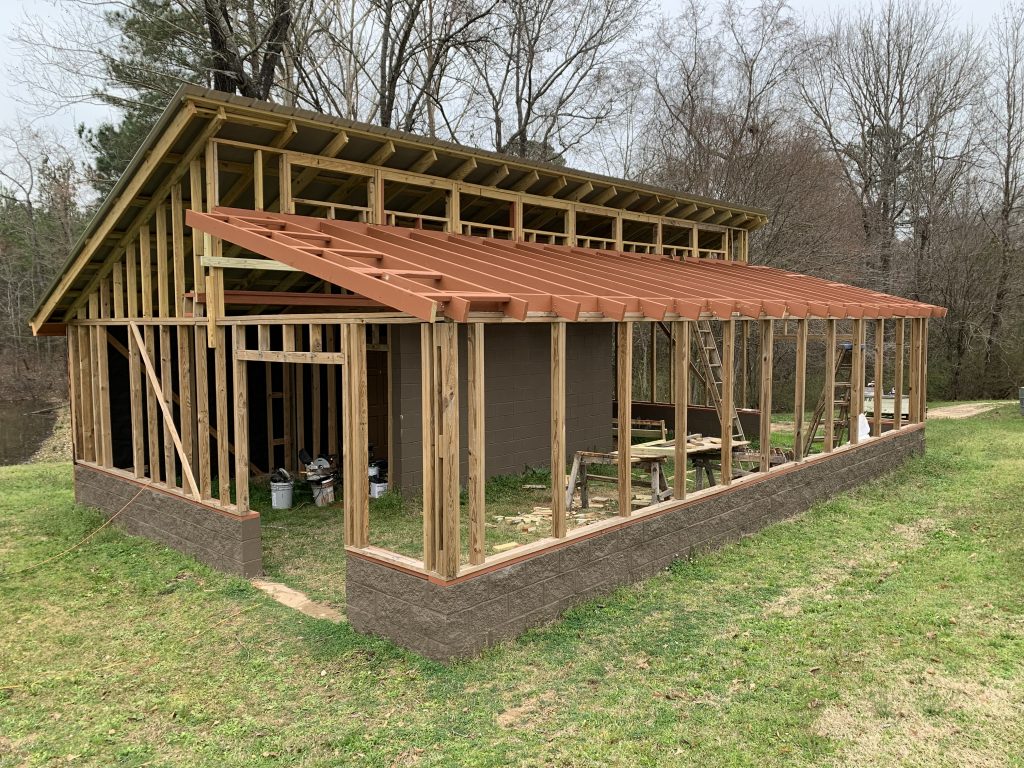
Next I began the upper area which I had been dreading doing alone. I laid some scaffold boards over the rafters to walk on while working. Once again I installed the cornice boards, then caulked and painted as before. I put felt on the wall, and then nailed on some flashing I had made with the correct pitch, allowing 1 1/4″ clearance for the roofing panels to be installed later. I brought the windows up one by one and installed them. Then I installed the siding and finally, caulked and painted the entire area: Once again I installed the cornice boards, then caulked and painted as before. I was HAPPY that headache was OVER! Then I moved to the front side and installed the cornice. Here is a progress photo showing the upper area finished along with the front cornice:
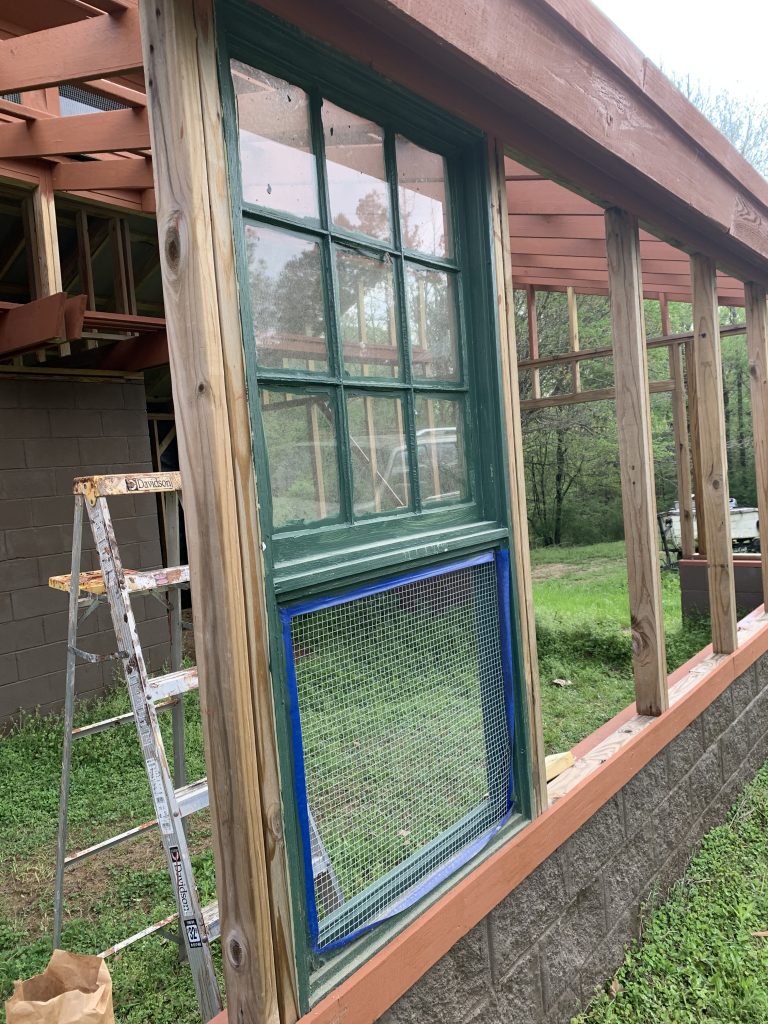
Finally it was time to begin the front window wall installation. I screwed the first unit in the center of the front first in order to give me some play if I needed to sledge hammer the vertical double stud over a bit to make it go in. I’m glad I did it that way, since I DID have to knock a few over a fraction to wedge them in. I had allowed 1/4″ clearance side to side rough opening, and that was a bit close for a couple of them since wood swells with moisture. Here is the first one in place:
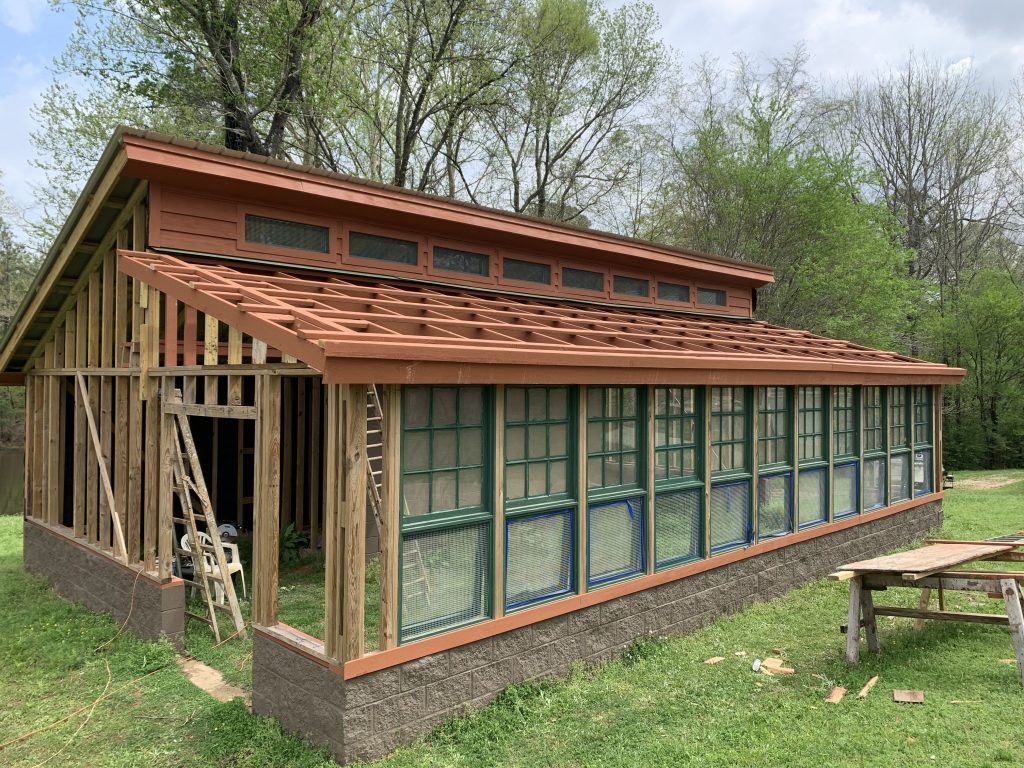
And here is a photo of them all in:
I then added felt over the remaining exposed side, including a strip between windows:
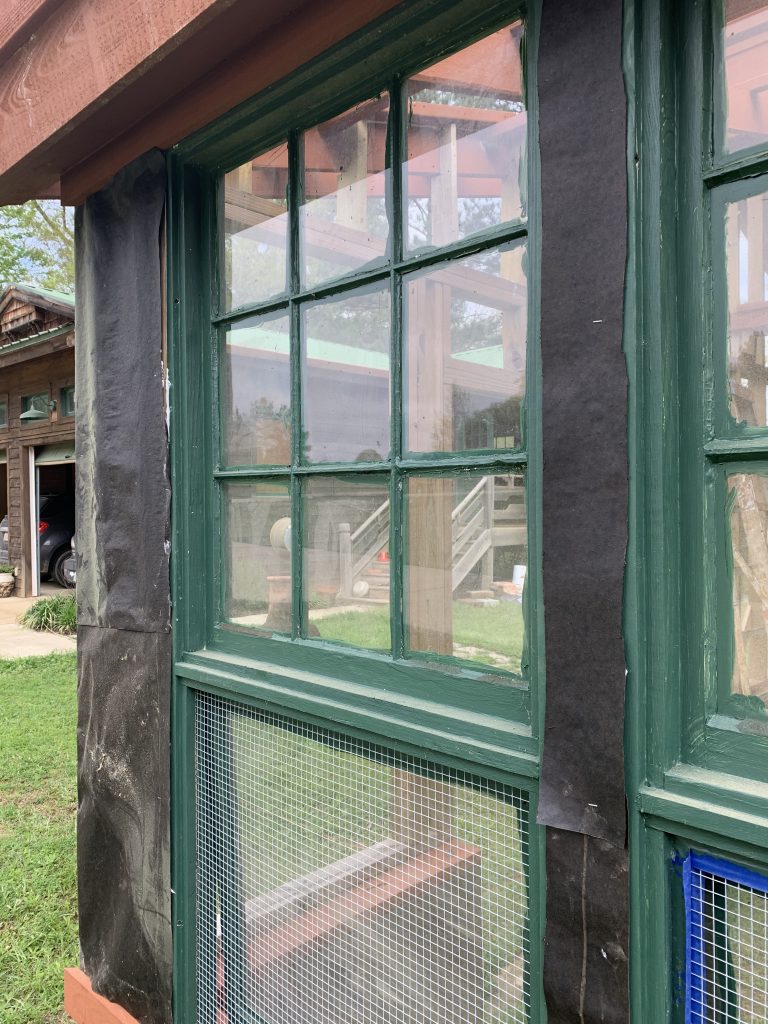
Next I added the pre-painted trim pieces and small bits of siding on the ends. The reason I pre-painted the trim was so that I did not have to be so precise when adding a second coat cutting in between colors.
Here is a photo of the caulked and painted, finished front product:
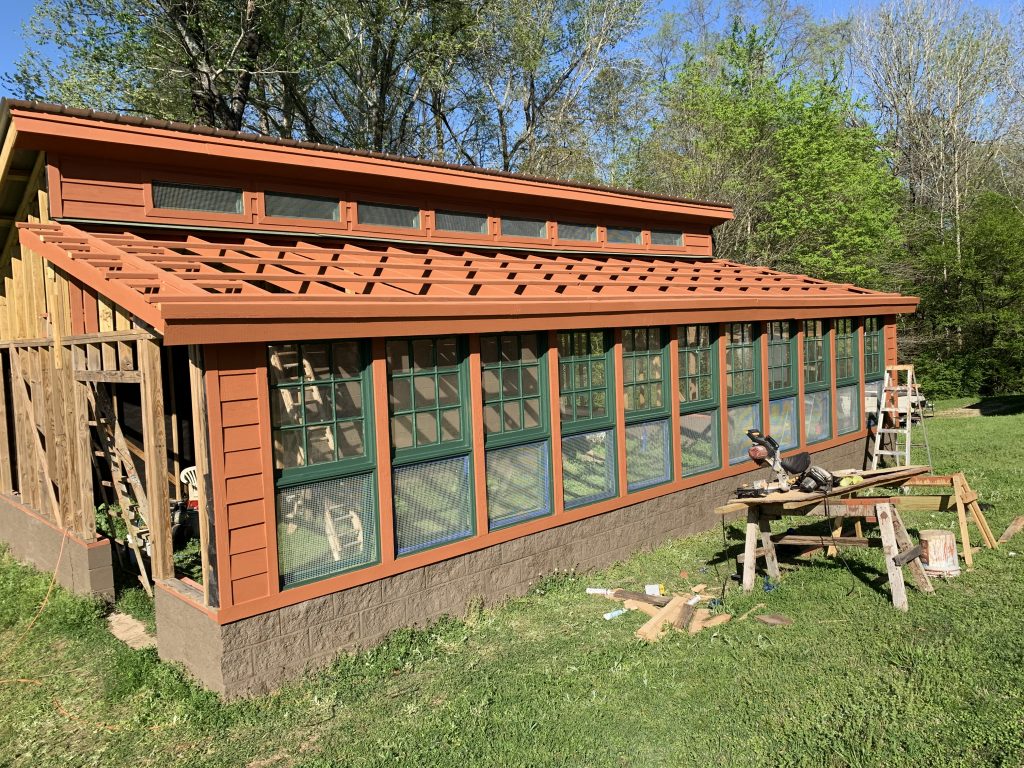
It’s FINALLY starting to look like a real greenhouse!
0 Responses to Passive Solar Greenhouse Construction
Comments are closed.