Creating Useful Wood Projects, Both Large and Small
Passive Solar Greenhouse Construction
Written by on February 21, 2020
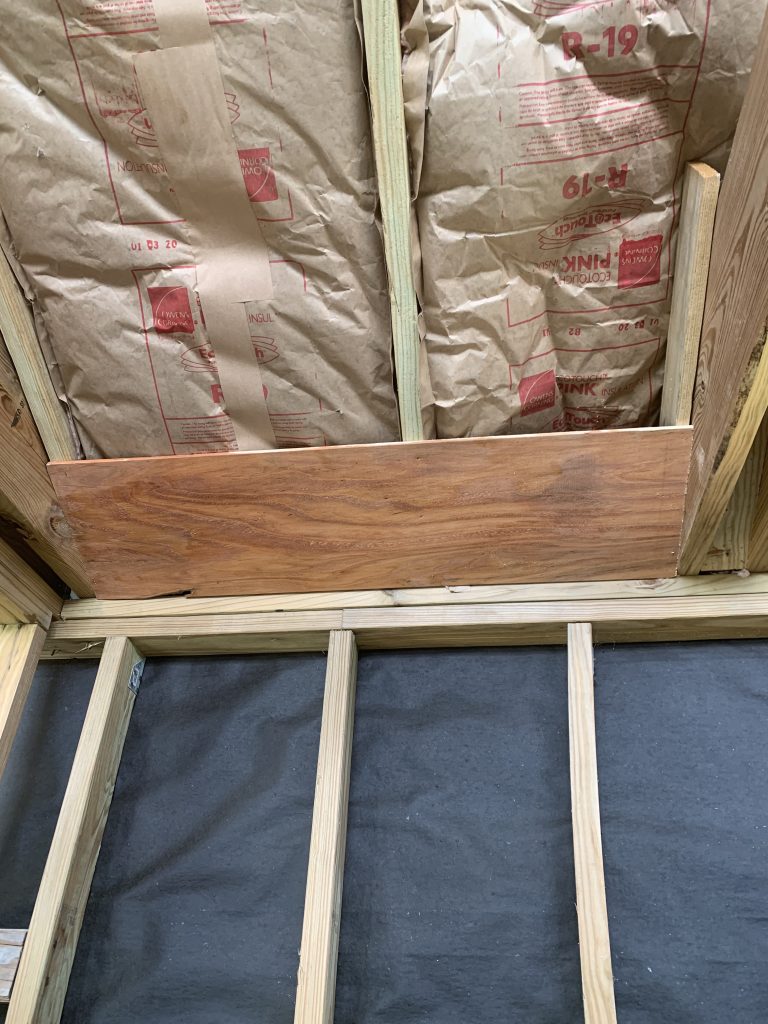
I then moved inside, and began first working on roughing in the electrical. I ran a pipe under the footings before concrete at the beginning for the wire from my home to the greenhouse which would be tied in later. I installed the outlets about 3′ above the floor area to provide easy access after benches and plants are installed. Then I insulated the ceiling on the rear half of the greenhouse. Of course the front house had translucent panels. Next I insulated all the remaining perimeter walls.
Next, I started on the rear center storage room. We’ve put up with lawn mowers and tools crowding our garage for years. So I wanted to go ahead and do the storage room first to get them where they belong….out of our way!
I began by running some 1/2″ x 12″ wide cypress roughsawn boards through my old sears belsaw planer, and surfaced one face (side) only….no need to have the back side smooth. I think the final thickness ended up a little over 3/8″. Next, I used minwax polyshades to brush on a stain/varnish. It only took one coat, which made it a quick process.This made the boards easy to hold above my head. Then, using my harbor freight staple gun, I secured them into place with 1 1/4″ staples. I placed 1×4 trim around the rear doors and the interior access door first and then applied the siding on the 3 sides. This is the same siding used on the exterior. I decided on doing this since there will be constant watering going on inside of the plantings. The 4th side of the storage is the back side of the block trombe wall. Here’s a picture of the first ceiling board installed:
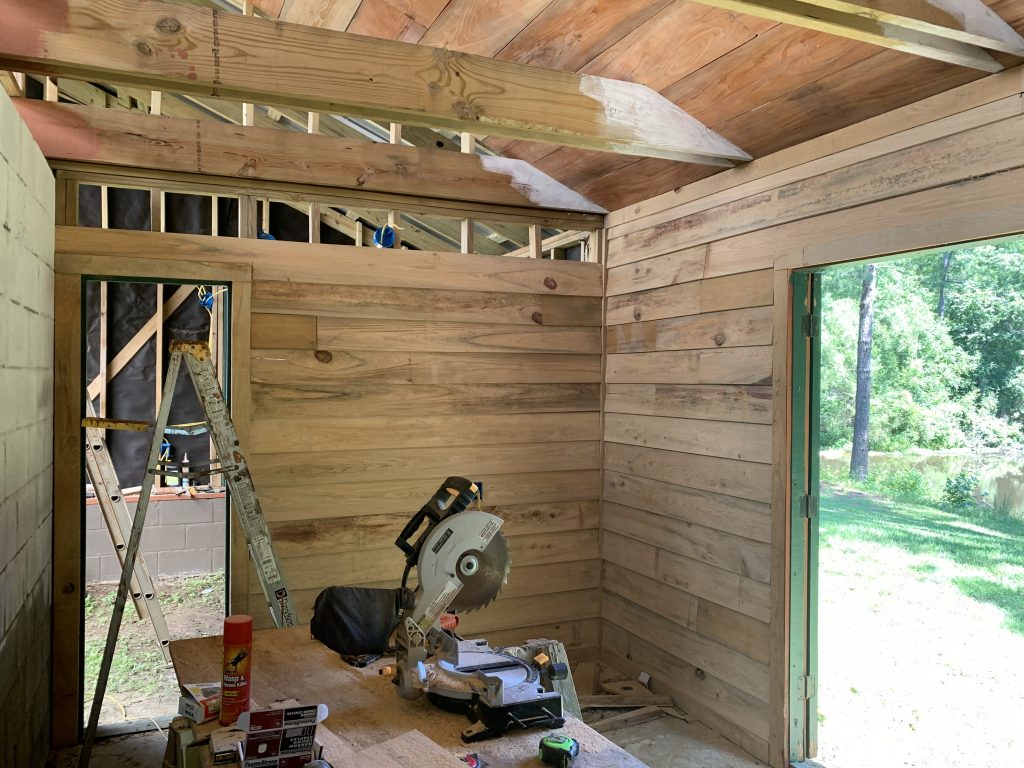
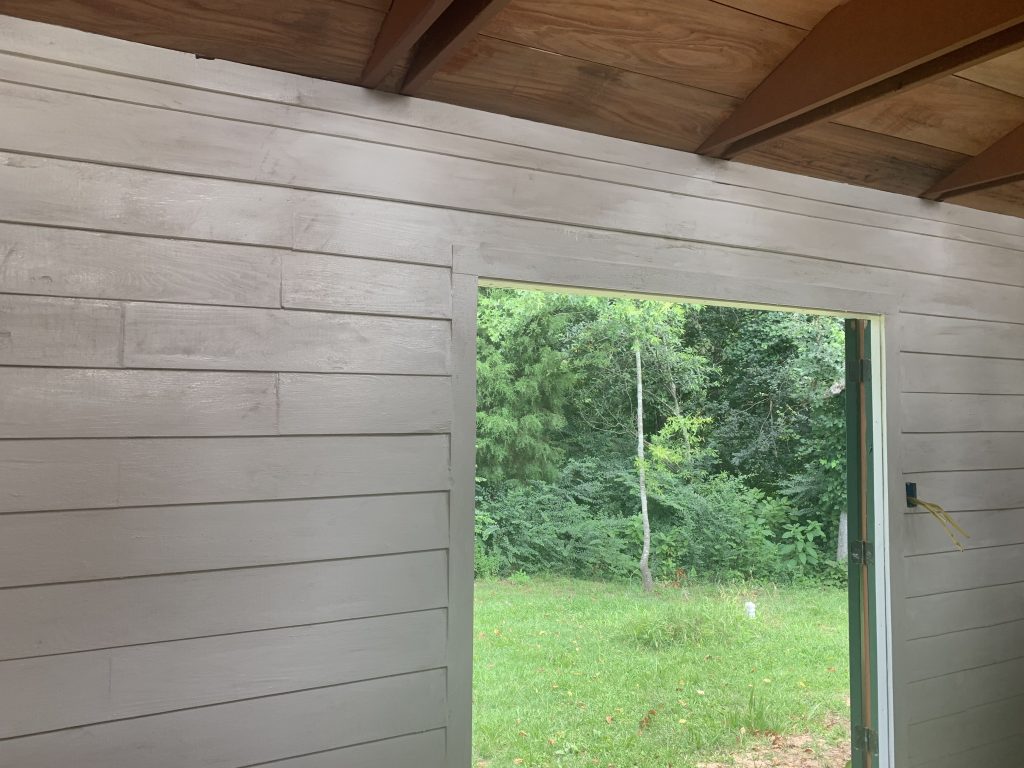
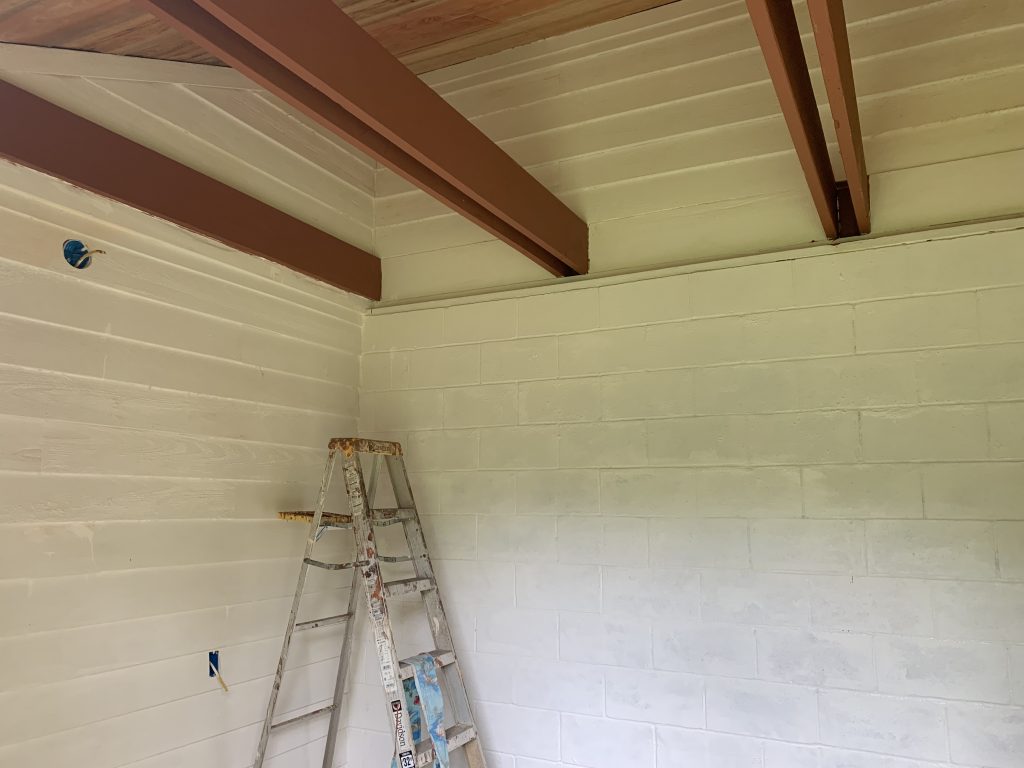
As you can see, the walls in the storage room are painted white so that I can see items more easily inside. The greenhouse area walls will be the cedar color used on the exterior. This color combination in the storage of white walls, cedar exposed beams, and oak stained ceiling boards made me wish folks could see it from inside the greenhouse, since it looked so cool. Oh well.
I then moved to the greenhouse area, and began installing the ceiling boards, followed by siding in the area where a sink cabinet will be. I’ll use the sink area for potting, as well as canning in the future. I have outlets for an electric element to boil water on the countertop also.
After getting some of the siding up, I painted it so that I could install the cabinet, since my plumber was scheduled to come and install the sink for me. Did I mention I HATE plumbing? This is because EVERY time I do something, it leaks. “A man has got to know his limitations”….done in my best Dirty Harry voice. So a plumber bill was necessary.
After that, I began working on the cabinet itself in my shop. I used eastern red cedar, which we have in abundance around here, and since I already had a bunch in my lumber storage shed. It ended up about 11′ long, and so to was a bit heavy to tote into place, I left even left the bottom shelf boards off to help a bit, which it did. My brother-in-law Michael came over and helped me put in place. Thanks Bro! Here’s a few photos of it being built. Note the open grate on the right of the sink. This is so that I can place a waste basket underneath on the lower shelf to use for handy disposal when cutting of canning:
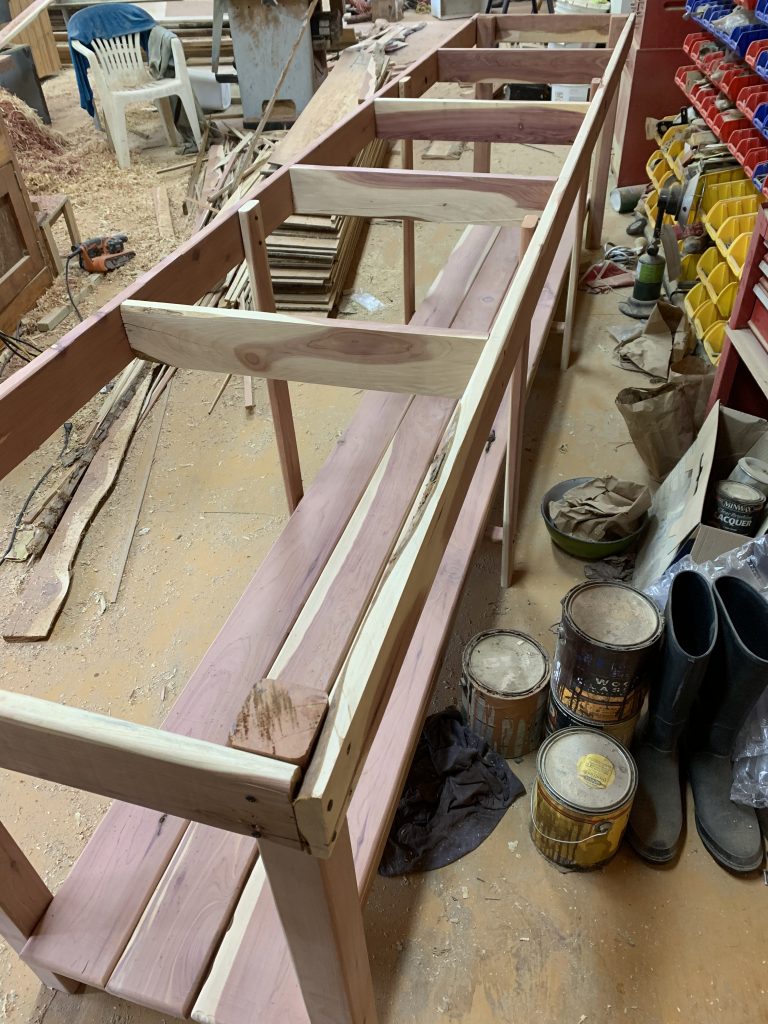
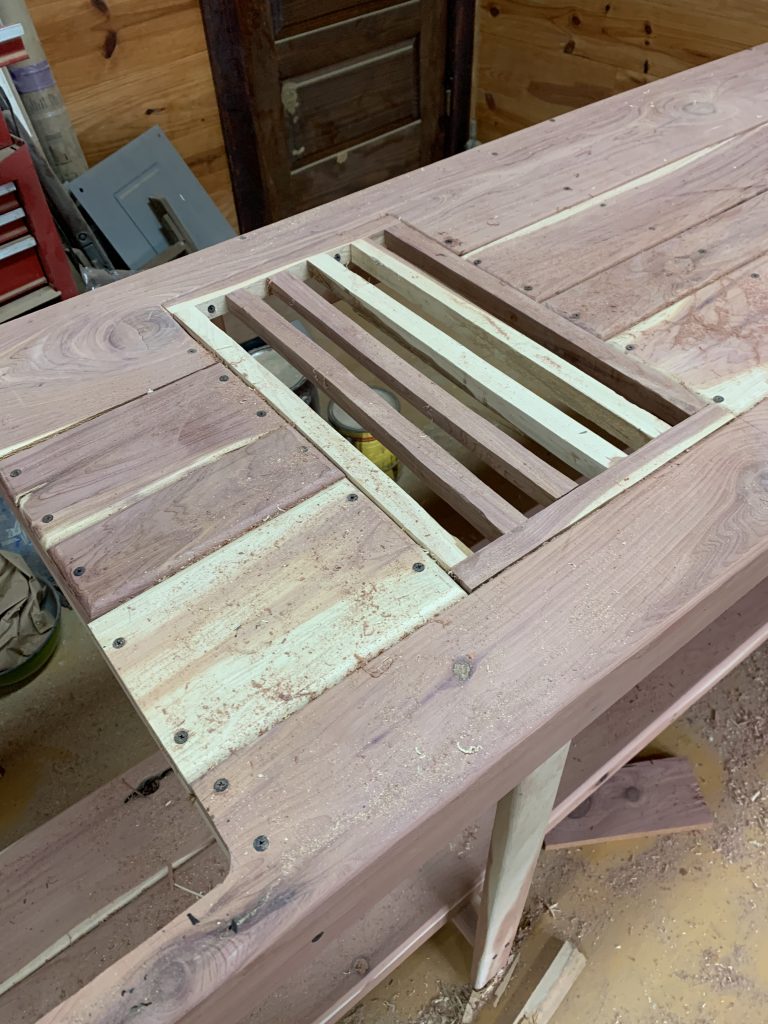
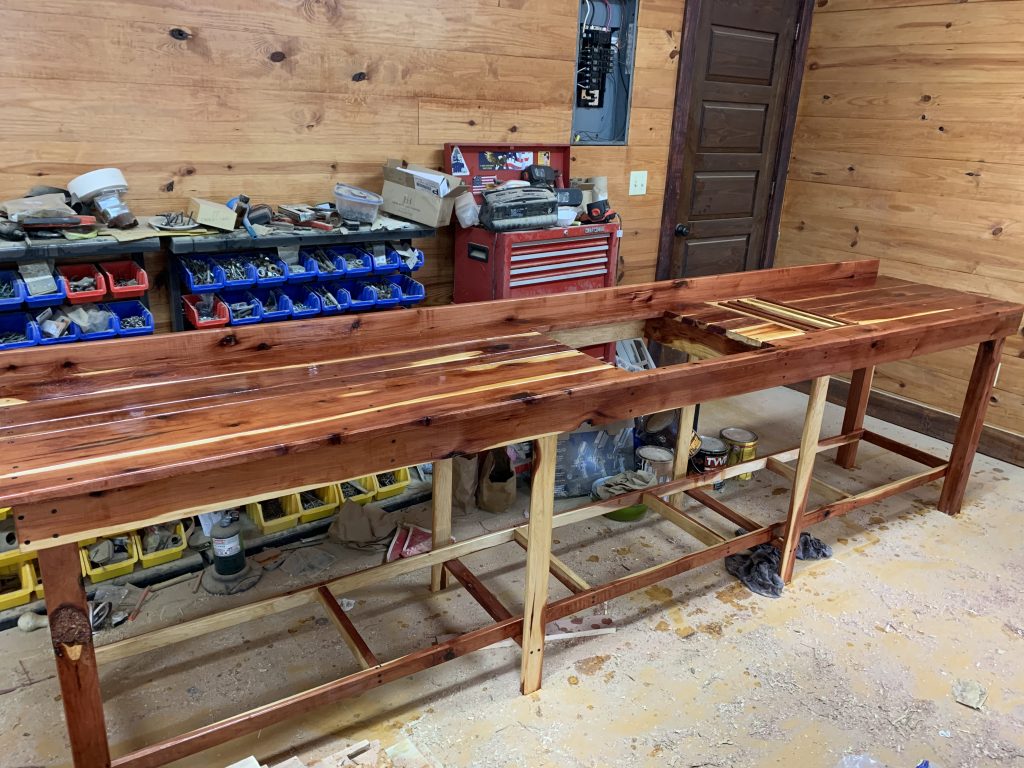
I put a couple of coats of satin polyurethane for the finish. The bottom shelf boards are not shown here, since I left them off until it is in place.
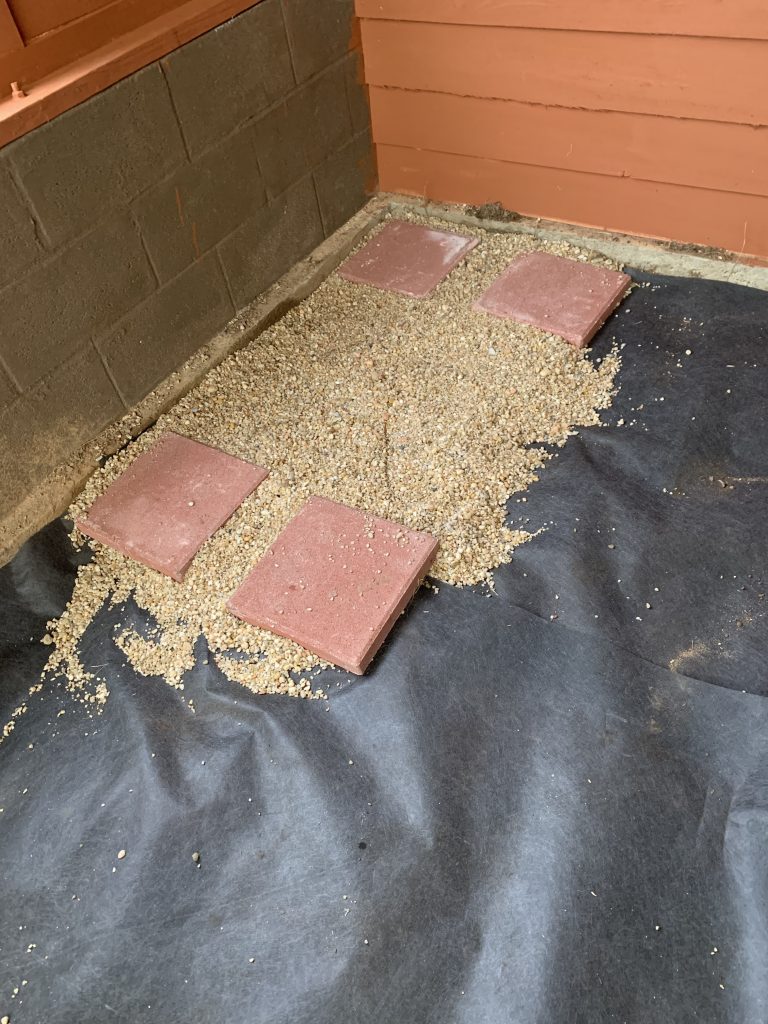
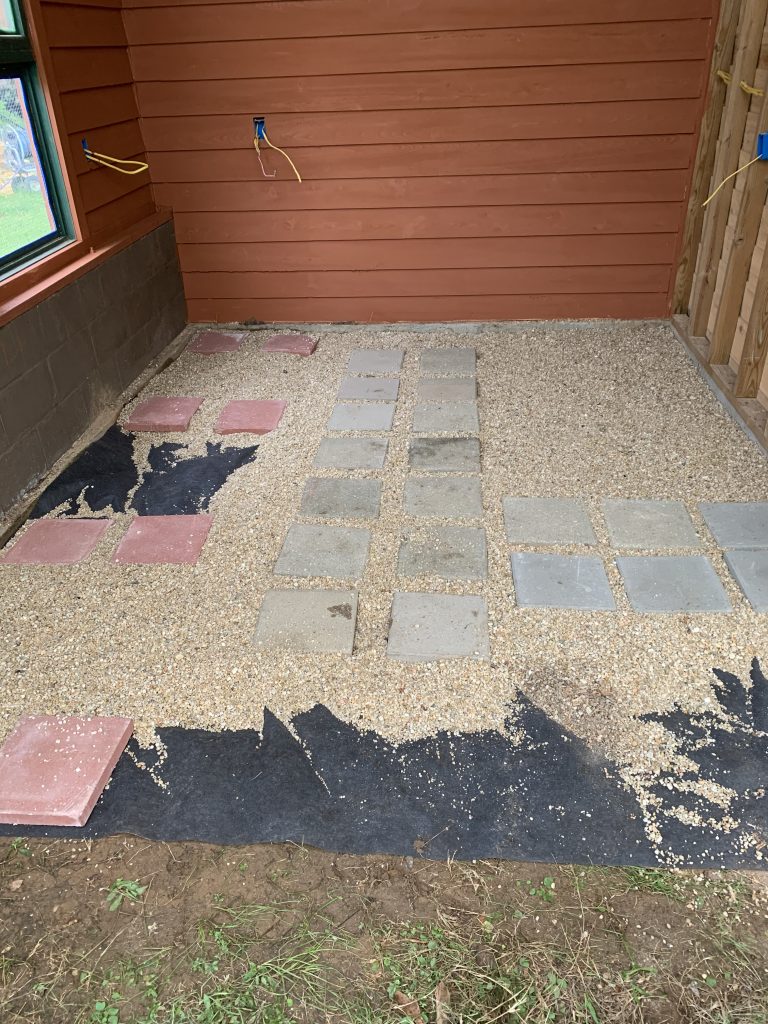
Next, I leveled out the area where the cabinet would be placed, and added a greenhouse fabric. I then placed some 12″x12″ concrete pads where it would sit, and where the walkways would be. And finally, I added pea gravel in between all the other floor areas. The plumber then came and installed the sink.
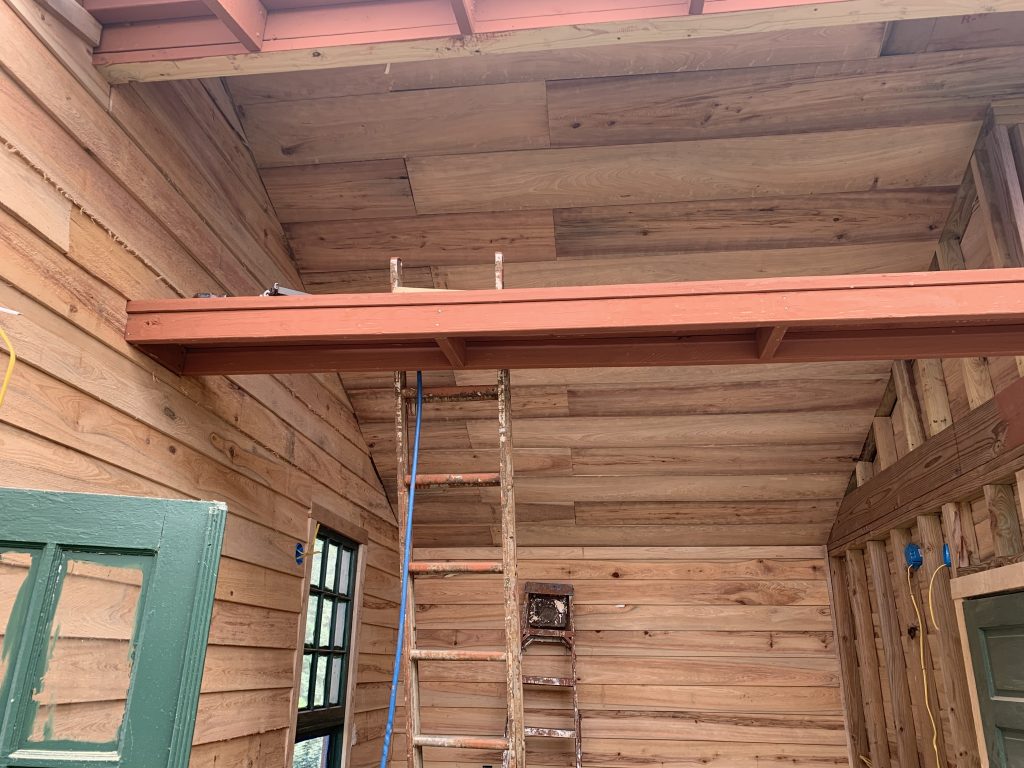
It was time for all the rest of the interior trim and siding to be installed. I then did caulking of all the joints and bad spots on the rough lumber, and painted the areas. Here are some more progress photos:

0 Responses to Passive Solar Greenhouse Construction
Comments are closed.